Introduction
There is a special kind of satisfaction that comes from seeing your own artwork transformed into stitches. Whether you doodled a design on a napkin during a coffee break, sketched a logo for your small business, or created a digital illustration on your iPad, turning that image into an embroidered masterpiece is an incredibly rewarding process. Custom-Made Embroidery Patterns are the heart of this creative journey, and they open up a world of possibilities that pre-made designs simply cannot match.
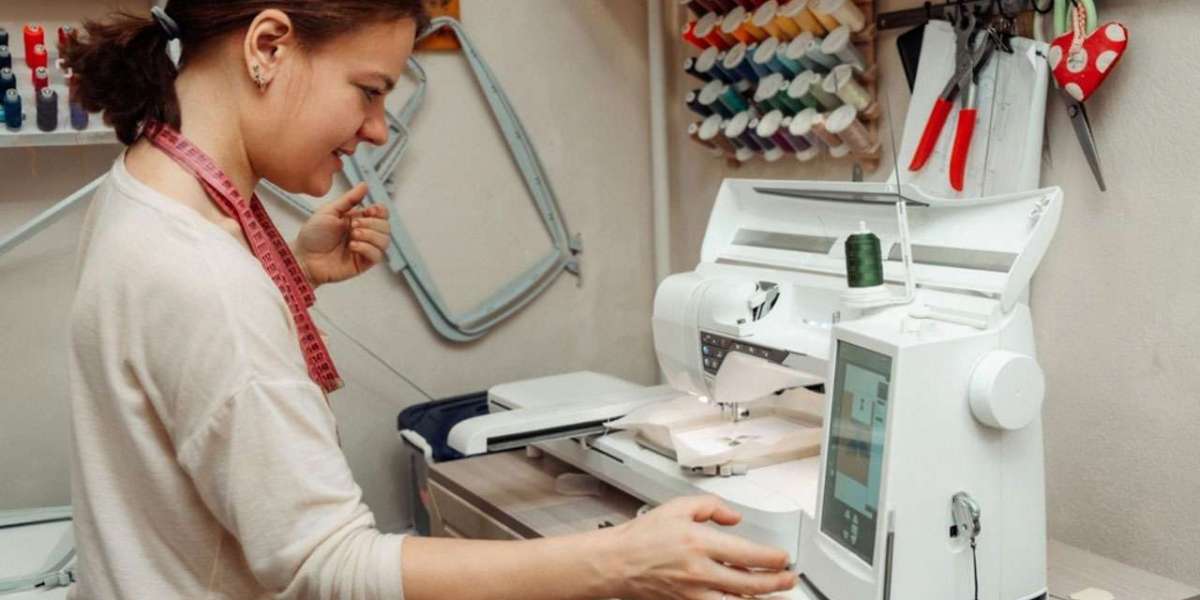
Creating your own embroidery patterns means you are not limited to what is available in design libraries or online marketplaces. You can bring your unique vision to life, personalize gifts for friends and family, build a distinctive brand identity, or even start selling your own designs. The journey from artwork to thread involves a process called digitizing, where your image is converted into a stitch map that your embroidery machine can read.
The good news is that this process is more approachable than you might think. You do not need to be a professional artist or a tech wizard to create your own patterns. With the right guidance, a bit of practice, and a willingness to experiment, you can turn your creative ideas into beautiful embroidered designs. Let us walk through the entire process together.
Start with a Great Idea
Every embroidery pattern begins with a spark of inspiration. That inspiration can come from anywhere, a walk in the park, your favorite flower, a company logo, or even a silly doodle you made while on the phone. The beauty of creating your own patterns is that you can start with literally anything.
When you are sketching your design, keep embroidery in mind. Bold, clear lines work much better than intricate, fussy details. Think of how you would draw something for a coloring book rather than a realistic portrait. Embroidery machines love clean, defined shapes that translate well to thread. If you are just starting out, simple designs like florals, monograms, or fun geometric shapes are perfect for learning the ropes.
You can sketch with pencil and paper, use a digital drawing app like Procreate, or even use vector art programs like Adobe Illustrator. Remember that embroidery uses solid thread colors, so designs with limited colors and no gradients will be much easier to digitize and stitch beautifully.
Understanding the Digitizing Process
So, you have your artwork ready. Now comes the technical part, turning that image into a file your embroidery machine can understand. This process is called digitizing.
Think of digitizing as translating your visual design into the specific language of stitches. Your machine does not see a flower or a logo, it sees a series of commands telling it where to place each stitch, what direction to follow, and when to change thread colors. The digitized file becomes the blueprint for your entire embroidery project.
This is where a little knowledge goes a long way. A good digitized file accounts for things like stitch density, underlay, and pull compensation, which prevent problems like fabric puckering or gaps between shapes. You can either learn to do this yourself using digitizing software or outsource the work to a professional digitizing service.
Choosing Your Software Tools
If you decide to digitize your own designs, you will need the right software. There are several excellent options, ranging from free and beginner-friendly to professional-grade.
Professional Digitizing Software
Programs like Hatch, Wilcom, and Embrilliance are the industry standards. They give you complete control over every aspect of your design, from stitch types to thread paths. These programs often include powerful tools like auto-digitizing, which can automatically generate stitches from your artwork, and manual tools for more precise control. While they can be a significant investment, many offer free trials, like Hatch's 30-day trial, so you can explore their features before committing.
Free and Open-Source Options
For those on a budget or just getting started, Ink/Stitch is a fantastic free and open-source option. It is an extension for the free vector program Inkscape. Ink/Stitch allows you to create vector art and then convert those paths into stitch sequences with control over stitch length, density, and type. It supports export to many common embroidery formats, making it a practical choice for various machines.
Regardless of which software you choose, look for features like live stitch previews, the ability to set different stitch types (satin, fill, running), and tools for adjusting pull compensation and underlay.
Step-by-Step from Artwork to Stitch File
The process of digitizing can be broken down into manageable steps. Here is a general workflow you can follow:
1. Import and Prepare Your Artwork
Start by importing your artwork into your chosen digitizing software. It is important to set the correct size for your design at this stage. For example, if you are creating a left chest logo, you might aim for 2.5 to 4 inches wide. The software often allows you to crop, rotate, or adjust the image to get it just right.
2. Auto-Digitize or Manually Trace
Many programs offer an auto-digitize feature that can generate stitches from your image with a single click. This is a great starting point, especially for simpler designs. The software will analyze the colors in your image and convert each color area into a stitch object. You can usually specify how many thread colors to use and tell the software to ignore the background.
For more complex designs or when you need precise control, you can manually trace over your artwork using the software's tools, defining each shape and assigning its stitch properties.
3. Assign Stitch Types and Adjust Settings
Once your design is traced, you need to tell the software what kind of stitches to use for each part. Large, solid areas typically use a fill stitch like tatami, while outlines and small details look best with a satin stitch. Lettering often uses satin stitches as well, but for very small text, you might need to use a running stitch to keep it legible.
This is also the time to adjust crucial settings like pull compensation. When thread stitches into fabric, it pulls the material slightly, which can cause shapes to shrink. Pull compensation slightly expands the shapes to counteract this effect, ensuring your design looks the correct size when finished.
4. Preview and Export
Most software includes a player or preview function that shows you a simulation of the stitching path. Use this to check for any issues and to confirm that the thread color changes and stitch order make sense. Once you are happy, it is time to save your work. It is good practice to save a version in the software's native format (like .EMB) so you can come back and edit it later. Then, export your design as a machine-ready file format, such as .PES or .DST, which you can transfer to your machine via USB drive.
Test, Adjust, and Refine
This is the most important step that many beginners skip. Before you commit to a large project, you must run a test stitch on a sample of the actual fabric you plan to use. Testing allows you to see the design in real life and check for issues like color accuracy, density problems, or puckering.
Sometimes the test stitch will reveal that you need to make adjustments. Perhaps the satin stitch is too dense, causing the fabric to warp, or the lettering is smaller than you expected. This is all part of the learning process. Make your changes in the software, export a new file, and test again until you are completely satisfied. Once you have a flawless test stitch, you are ready to start your final project with confidence.
Conclusion
The journey from artwork to a stitched creation is a beautiful blend of creativity and technical skill. Creating custom-made embroidery patterns allows you to express your unique style, personalize your projects, and bring your ideas to life in thread. Whether you are a hobbyist sketching in a notebook or a business owner building a brand, the ability to create your own designs is a powerful tool.
Do not be intimidated by the digitizing process. With the range of software available, from free tools like Ink/Stitch to professional suites like Hatch, there is an entry point for everyone. Take it step by step, embrace the learning curve, and do not skip the crucial step of testing on sample fabric. Every test stitch is a lesson that makes your next design even better.
So go ahead, grab that sketchbook or open that drawing app, and start creating. Your next custom embroidery pattern is just waiting to be transformed from artwork to thread.